Confectionery Wedding Favors With Cake Pops
Story by chaps676
Published on October 7, 2010 in How-To
Baking blogger Bakerella had no idea that she would start a phenomenon. It was love-at-first-bite after she tried a cake ball at a party. After that, she began her own experiments with the bite-sized dessert. She decided to insert lollipop sticks into the cake, resulting in cake pops. In her new book, Cake Pops, Bakerella gives simple instructions to create these treats using boxed cake mix. She has been kind enough to share her recipe for Bride & Groom Cake Pops from her new book. First, start by making basic cake balls, then continue to the next recipe. You'll soon have the cutest wedding favors your guests have ever seen!
Basic Cake Balls
Cake balls are bite-size balls made of crumbled cake mixed with frosting and covered in candy coating. They are super-easy to make and form the basis of endless variations of decorated cake pops, cupcake pops, and cake bites. Makes 48 cake balls.
You'll need:
18.25-ounce box cake mix
16-ounce container ready-made frosting
32 ounces (2 pounds) candy coating
9-by-13 inch cake pan
Large mixing bowl
Large metal spoon
Wax paper
2 baking sheets
Plastic wrap
Deep, microwave-safe plastic bowl
Toothpicks
Resealable plastic bag or squeeze bottle (optional)
1. Bake the cake as directed on the box, using a 9-by-13-inch cake pan. Let cool completely.
2. Once the cake is cooled, get organized and set aside plenty of time (at least an hour) to crumble, roll, and dip 4 dozen cake balls.
3. Crumble the cooled cake into a large mixing. (The best technique is to use your hands! Cut the baked cake into 4 pieces. Remove a section from the pan, break it in half, and rub the two pieces together over the bowl until both pieces are crumbled.) You should not see any large pieces of cake. Add three-quarters of the container of frosting. (You will not need the remaining frosting.) Mix it into the crumbled cake, using a large metal spoon, until thoroughly combined. If you use the entire container, the cake balls will be too moist.
4. The mixture should be moist enough to roll into 1 1/2-inch balls and still hold a round shape. After rolling the cake balls by hand, place them on a wax paper-covered baking sheet.
5. Cover with plastic wrap and chill for several hours in the refrigerator, or place in the freezer for about 15 minutes. You want the balls to be firm but not frozen.
Bride & Groom Cake Pops
You'll need:
48 uncoated Basic Cake Balls
64 to 80 ounces (4 to 5 pounds) white candy coating
Black candy coloring (not food coloring)
192 miniature white confetti sprinkles
48 miniature black heart sprinkles (from Poker Shapes)
2 deep, microwave-safe plastic bowls
48 paper lollipop sticks
Styrofoam block
Wax paper
Baking sheet
Large squeeze bottle
Toothpicks
To decorate:
1. Have the cake balls chilled and in the refrigerator.2. Melt the white candy coating in a microwave-safe bowl, following the instructions on the package. The coating should be about 3 inches deep for easier dipping. (I usually work with about 16 ounces of coating at a time.)
3. When you are ready to dip, remove a few cake balls at a time from the refrigerator, keeping the rest chilled.
4. One at a time, dip about 1/2 inch of the tip of a lollipop stick into the melted candy coating and insert the stick straight into a cake ball, pushing it no more than halfway through. Dip the cake pop into the melted coating, and tap off any excess coating, as described in "Dipping Methods." (See below)
5. For the grooms, place half of the cake pops in the Styrofoam block to dry; you will be dipping these a second time.
6. For the brides, place the remaining coated cake pops, ball-side down, on a wax paper-covered baking sheet, and let dry completely.
7. Transfer one-third of the remaining white candy coating to a large squeeze bottle, and pipe coating for the bride's dress in opposite directions (as shown in the photo). Place back on the wax paper to dry.
8. Tint the remaining two-thirds of the candy coating with black candy coloring. Keep adding color until you achieve a rich black. Then dip the groom cake pops in the black candy coating, holding the pop in a diagonal direction and dipping it into the coating until half covered. Remove and dip the other side in the opposite diagonal direction to form a black V-shaped jacket. Place the groom pops, ball-sides down, on a wax paper-covered baking sheet. Let the brides and grooms dry completely.
9. When the pops are dry, use a toothpick to dot a small amount of melted white candy coating in position for the bride's necklace and the groom's buttons, and attach white confetti sprinkles. Use the same technique to attach 2 black miniature heart sprinkles in position for the groom's bow tie. The pointed ends of the hearts should be facing each other when attached.
10. Use some of the leftover black candy coating to finish the bow ties. Just dip a toothpick into the coating and apply a small dab over the heart sprinkles where the two pointed sides meet. Let the brides and grooms dry completely.
Additional Tips: Dipping Methods for Cake Pops
Make sure your coating is deep enough to completely submerge the firmed cake pop. Small, narrow, and deep microwave-safe plastic bowls are best, so you can hold the bowl easily without burning any fingers. Glass bowls can get too hot. Dip about 1/2 inch of a lollipop stick into the melted coating and insert it into a cake ball, pushing it no more than halfway through. Then dip the cake pop in the melted coating, completely covering the cake ball, and remove it in one motion. If the coating is too thick, gently tap off any excess. Hold the pop over the bowl in one hand and tap your wrist gently with your other hand. if you use the hand holding the cake pop to shake off excess coating, the force of the movement will be too strong and could cause the cake ball to loosen or fly off the lollipop stick. Tapping the wrist holding the cake pop absorbs some of the impact. The excess coating will fall off, but you will need to rotate the lollipop stick so the coating doesn't build up on one side, making it too thin or too hot. It's not as hard as it sounds; it just takes a little practice.
Check out Bakerella's book for more instructions for making other adorable cake pops. They're almost too cute to eat!
Post courtesy of etsy blogs.
Welcome to Painted Preppy your one stop source for party and decor inspiration. Follow us to receive party ideas for kids and adults, as well as recipes and home decor inspiration. Founded by Jennie Brown, interior designer turned animator/interactive designer.
Pages
▼
Monday, October 18, 2010
Monday, October 11, 2010
Pride and Prejudice DVD GIVEAWAY!!
Some of you may know this others may not, but Jane Austen is by far my favorite author. I have read pride and prejudice I dont know how many times, I have watched and watched the BBC movie with Colin Firth countless times, and I have seen the new movie many, many times.
I thought it might be nice to share my most favorite Austen story with my blog readers, so I am giving away Pride & Prejudice on DVD, I will pick a winner on October 25th.
Here are the rules:
Comment on this post - 1 vote
Be a follower of painted preppy - 1 vote
Blog about the giveaway on your blog - 3 votes
Become a fan of painted preppy - 1 vote
Become a fan of J. bee designs on facebook - 3 votes
Saturday, October 9, 2010
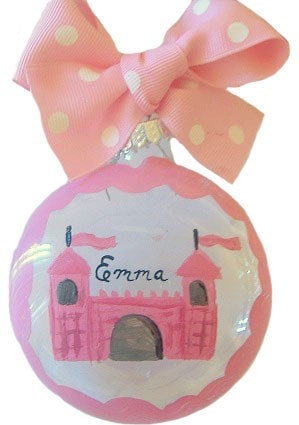
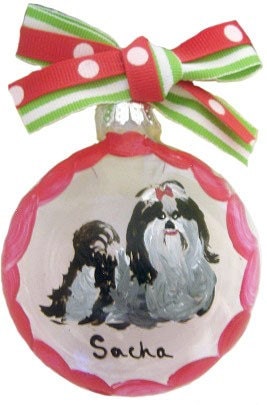
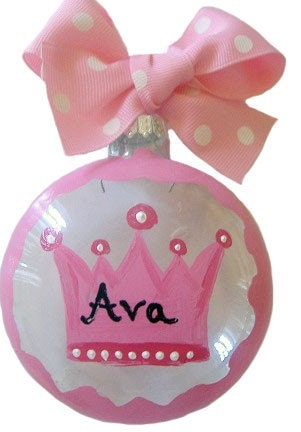
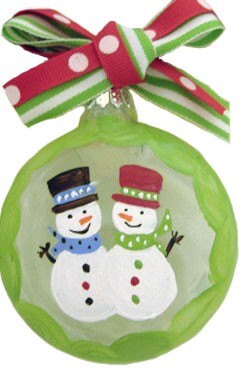
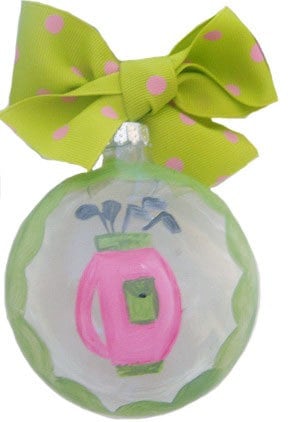
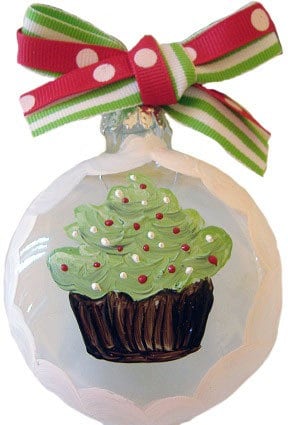
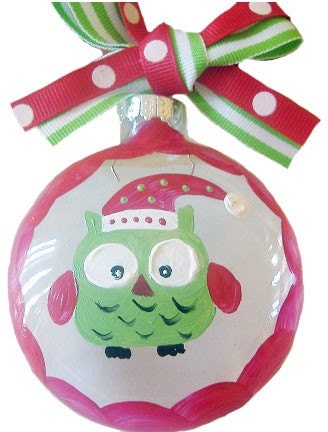
Christmas ornament 2010
I know it is early, but I just unveiled my new ornament designs for 2010 and I had to share with all my fellow bloggers!
Enjoy!
Enjoy!
Friday, October 1, 2010
Why I love October!
It's no secret I love Fall, especially in Florida, the temperature cools down to a pleasant 85 degrees, and there is a slight breeze, perfect and comfortable temps. I also adore fall decor, cute little pumpkins, fun Halloween decorations, it feels like home, vanilla and cinnamon candles, and vege chili!
Enjoy your weekend and these fun fall pics!
Enjoy your weekend and these fun fall pics!


